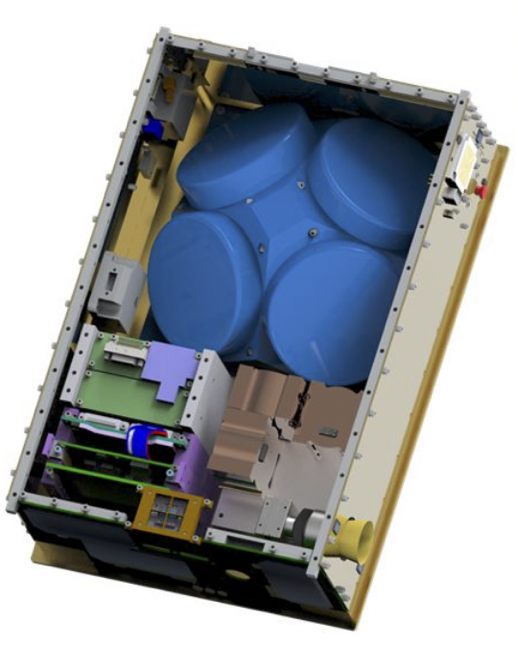
BurstCube
A CubeSat for gravitational waves

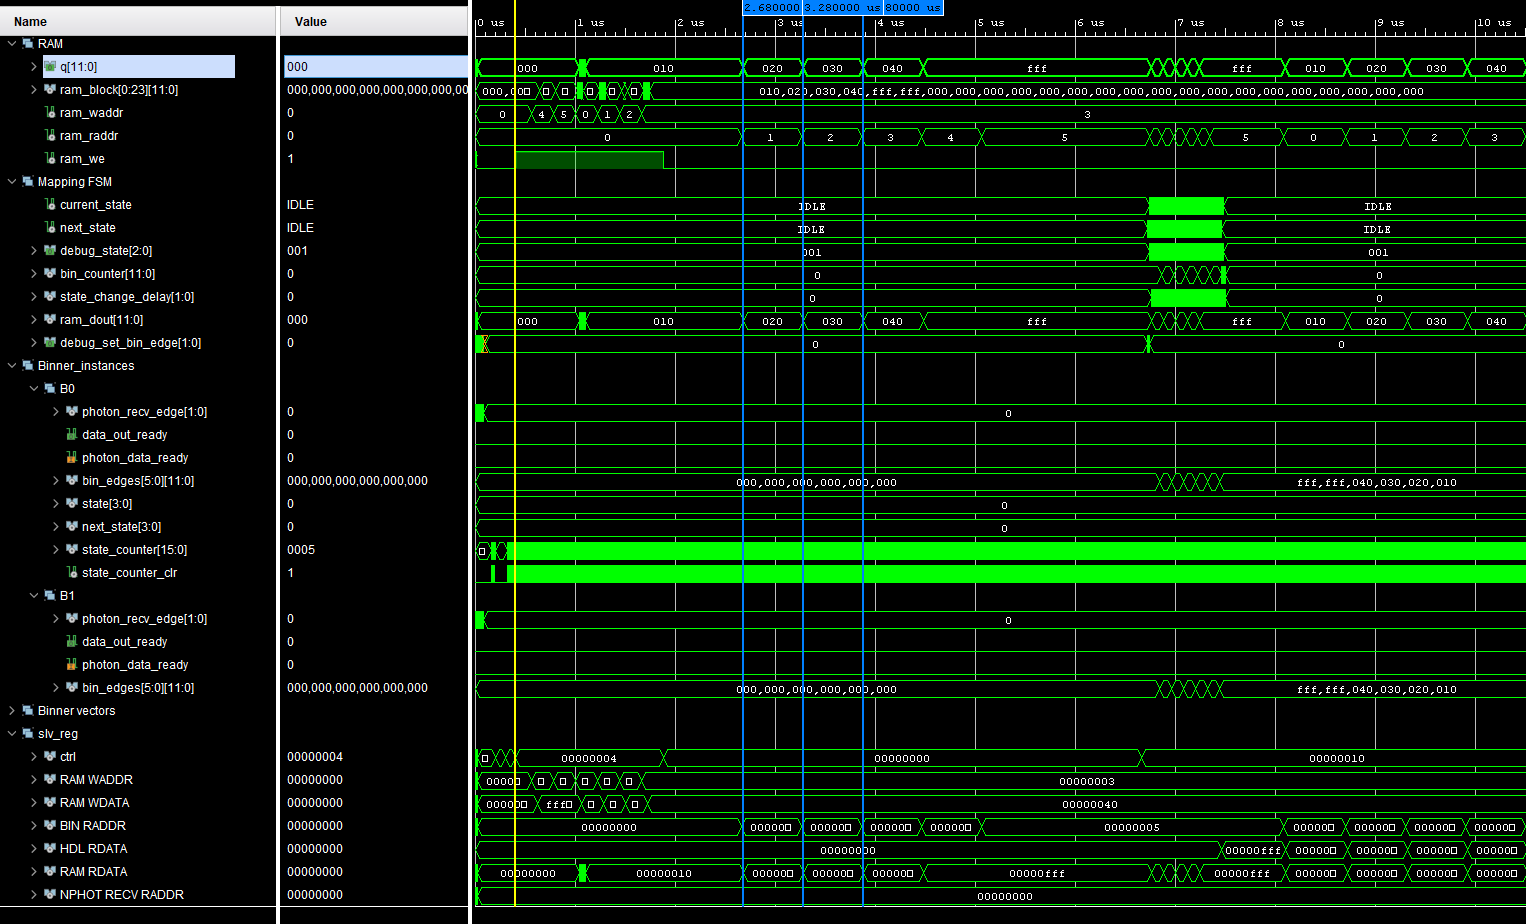
The BurstCube flight computer is built around the SpaceMicro CubeSat Space Processor (CSP) which is a space-qualified board built around the Xilinx Zynq SoC platform. The Zynq is a combined dual-core ARM processor with configurable FPGA fabric. BurstCube has two FPGAs (one for the instrument and one for the spacecraft). The first handles data acquisition from the SiPMs and instrument control. The second (which is what I work on) is the Command and Data Handling (C&DH) FPGA, Tis FPGA interface must process data as it arrives from the instrument, binning it into different energy channels and integrating it in time to reduce the overall data volume being sent to ground.

Every project has a beautiful feature showcase page. It’s easy to include images in a flexible 3-column grid format. Make your photos 1/3, 2/3, or full width.


You can also put regular text between your rows of images. Say you wanted to write a little bit about your project before you posted the rest of the images. You describe how you toiled, sweated, bled for your project, and then… you reveal it’s glory in the next row of images.


The code is simple.
Just wrap your images with <div class="col-sm"> and place them inside <div class="row"> (read more about the Bootstrap Grid system).
To make images responsive, add img-fluid class to each; for rounded corners and shadows use rounded and z-depth-1 classes.
Here’s the code for the last row of images above:
<div class="row justify-content-sm-center">
    <div class="col-sm-8 mt-3 mt-md-0">
        <img class="img-fluid rounded z-depth-1" src="/assets/img/6.jpg" alt="" title="example image"/>
    </div>
    <div class="col-sm-4 mt-3 mt-md-0">
        <img class="img-fluid rounded z-depth-1" src="/assets/img/11.jpg" alt="" title="example image"/>
    </div>
</div>